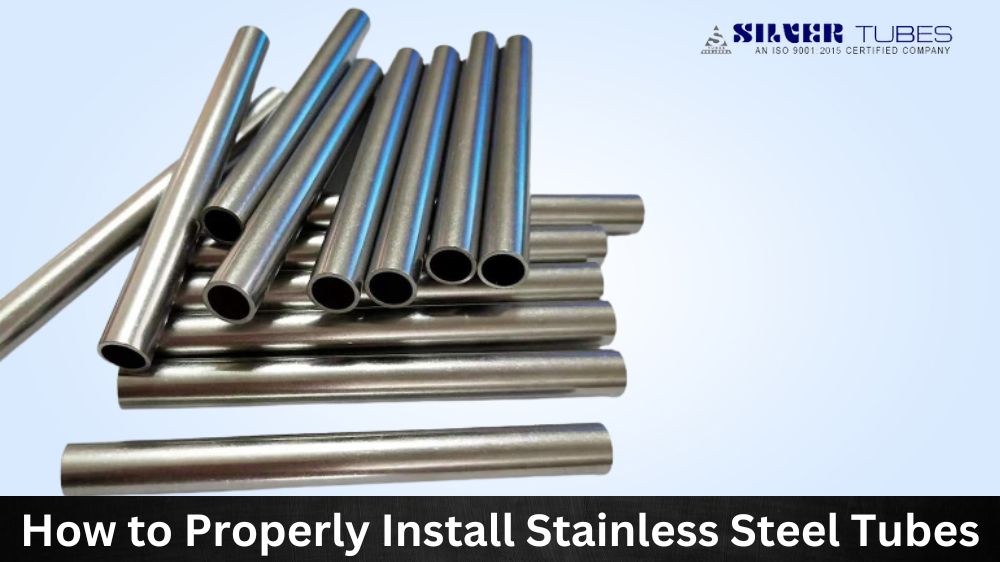
Stainless steel tubes are some of the most popular piping materials for many applications, including automotive, food, chemical, and medical industries. They are durable, easy to clean, and resistant to corrosion. Installing stainless steel tubes, however, requires precision and attention to detail to ensure the safety and effectiveness of the process. In this blog post, we’ll provide a step-by-step guide on properly installing stainless steel tubes.
About Stainless Steel Tubes
Stainless Steel Tubes are hollow, cylindrical objects made from stainless steel and used in various industrial applications. They have excellent corrosion resistance, strength, and durability due to their high-grade construction. They also offer aesthetic appeal for decorative and design purposes. Stainless steel tubes come in various sizes, shapes, grades, and finishes depending on the application needs. These versatile materials can be used for everything from heat exchangers to water pipelines to automotive parts.
Expert Guide to the Proper Installation of Stainless Steel Tubes
Step 1: Choose the Right Type of Stainless Steel Tubes
Before starting the installation, choosing the right type of stainless steel tube for the application is essential. Different types of stainless steel tubes are designed for various environments, temperatures, and pressure ratings. Consult with a professional if you’re unsure about which type of tubes to use.
Step 2: Measure and Cut the Tubes
The next step is to measure and cut the tubes to the required length using a cutting tool such as a hacksaw or tube cutter. Make sure to leave some extra length to allow for any adjustments when connecting the tubes.
Step 3: Deburr and Clean the Tubes
After cutting the tubes, deburr the edges to remove any sharp edges or rough edges that may lead to leaks. Next, clean the tubes with a solvent to remove any dirt or debris that may lead to corrosion.
Step 4: Connect the Tubes
You can use various methods to connect the tubes, including compression, welding, or threading. For compression fittings, slide the fitting onto the tube and tighten the nut to form a seal. Use a TIG or MIG welding process to fuse the tubes together. Use a threading system to create external or internal threads on the tubes.
Step 5: Test the Connection
After connecting the tubes, testing the connection for any leaks or defects is essential. You can perform a pressure test using air or water pressure to detect leaks or pressure drops. Any defects or leaks found during testing must be fixed before using the tubes.
Uses of Stainless Steel Tubes
- Stainless steel tubes are often used in the food and beverage industry due to their high level of sanitation.
- They are also used in the pharmaceutical industry for similar reasons.
- Stainless steel tubes can also be used in the construction industry, as they are corrosion-resistant.
- Additionally, they are often used in the automotive industry for exhaust systems and other parts that need to resist high temperatures.
- Stainless steel tubes can also be used in the aerospace industry, as they are lightweight and strong.
- Finally, they are often used in the medical industry for various purposes, including surgical instruments and implants.
Conclusion:
Properly installing stainless steel tubes requires careful planning, precision, and attention to detail to ensure the safety and effectiveness of the process. By following the steps outlined in this post, you can install stainless steel tubes with ease and confidence, knowing that your installation meets the highest safety and quality standards. Always consult with a professional for any doubts, and enjoy the benefits of using stainless steel tubes for your applications.